Building a custom home is one of the most rewarding experiences for any homeowner, but it also comes with a series of intricate details that demand careful planning and execution. Among these details, drywall backing and roof construction play a crucial role in ensuring your home’s structural integrity, functionality, and long-term durability. Many homeowners focus on design and finishes, but what goes behind the walls and above the ceiling matters just as much — if not more. In this article, we’ll dive deep into the techniques, strategies, and best practices involved in drywall backing and roof details when building a custom home.
1. Why Drywall Backing Matters
Drywall backing is one of those hidden details that most homeowners never see, yet it has a huge impact on the final quality of your home. Backing refers to the additional framing supports installed in walls and ceilings to provide a secure surface for fastening drywall, trim, cabinetry, and other finishes.
Without proper backing, you’ll face several problems:
- Weak drywall connections – leading to cracks, sagging, and joint separation.
- Difficulty installing fixtures – shelves, towel bars, and cabinets require strong anchoring points.
- Higher costs later – retrofitting backing after drywall installation can be expensive and disruptive.
For a custom home, drywall backing isn’t just about meeting code; it’s about planning ahead for future convenience and aesthetics.
2. Planning Your Drywall Backing
Before any drywall goes up, you and your builder need to walk through the framing and identify where backing will be needed. This is a critical stage because once drywall is installed, your options are limited. Here are the key areas where drywall backing should always be considered:
A. Corners and Seams
- Every inside and outside corner needs backing to ensure a clean, strong joint.
- Backing reduces cracking over time by stabilizing drywall edges.
- Double-stud corners or ladder-style backing can provide extra rigidity.
B. Fixtures and Wall-Mounted Items
- Backing is essential for heavy items like:
- Kitchen cabinets
- Bathroom vanities
- Floating shelves
- Wall-mounted TVs
- Instead of relying on drywall anchors later, solid blocking during framing saves time and money.
C. Trim and Finish Work
- Door and window casings require smooth, solid drywall transitions.
- Crown molding and baseboards look cleaner when there’s backing to secure fasteners properly.
D. Accessibility and Future Upgrades
If you plan to install grab bars, built-in shelving, or custom furniture later, add blocking now. This proactive approach is one of the advantages of custom home construction — you can think ahead.
3. Techniques for Installing Drywall Backing
There are several ways to install drywall backing, depending on the layout of your framing:
A. Horizontal Blocking
- Horizontal 2×4 or 2×6 blocking installed between studs.
- Ideal for securing cabinets, towel bars, or artwork.
B. Ladder-Style Backing
- Common for partition walls and inside corners.
- Uses horizontal boards attached between studs to create a continuous nailing surface.
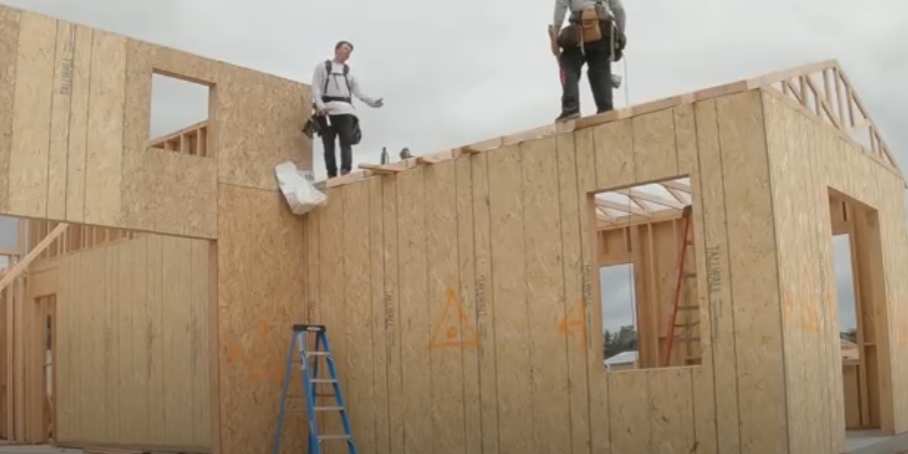
C. Sheet Backing (Plywood or OSB)
- For high-strength areas like kitchens, utility rooms, or workshops, entire sheets of plywood or OSB are installed behind drywall.
- Provides superior support for heavy loads.
D. Fire-Rated Backing
- In garages or areas adjacent to mechanical rooms, you may need fire-rated material.
- Always check local building codes to ensure compliance.
4. Roof Details in Custom Home Construction
Once the drywall backing is addressed, the roof becomes another critical aspect that requires attention. A well-designed and properly constructed roof protects the home from weather, controls ventilation, and contributes to overall energy efficiency.
When building a custom home, you have the opportunity to go beyond basic construction and focus on long-term durability, energy performance, and aesthetics.
5. Types of Roof Structures
There are two main approaches to roof framing in custom homes:
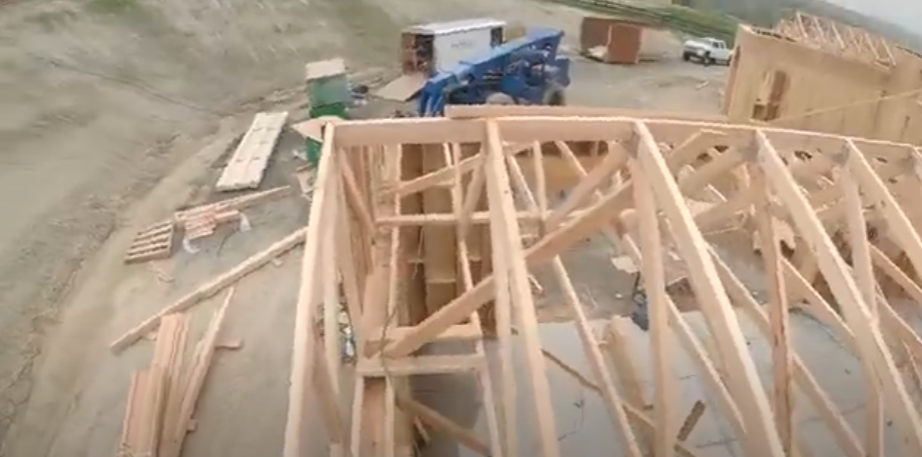
A. Stick-Framed Roofs
- Built on-site using individual rafters.
- Offers flexibility for vaulted ceilings, exposed beams, and custom rooflines.
- Ideal for homeowners wanting unique architectural features.
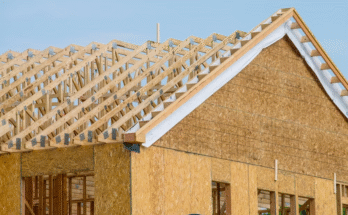
B. Truss-Framed Roofs
- Prefabricated triangular frames designed by engineers.
- Provide excellent strength and precision.
- Faster to install and often more cost-effective.
- Best suited for complex roof systems requiring long spans.
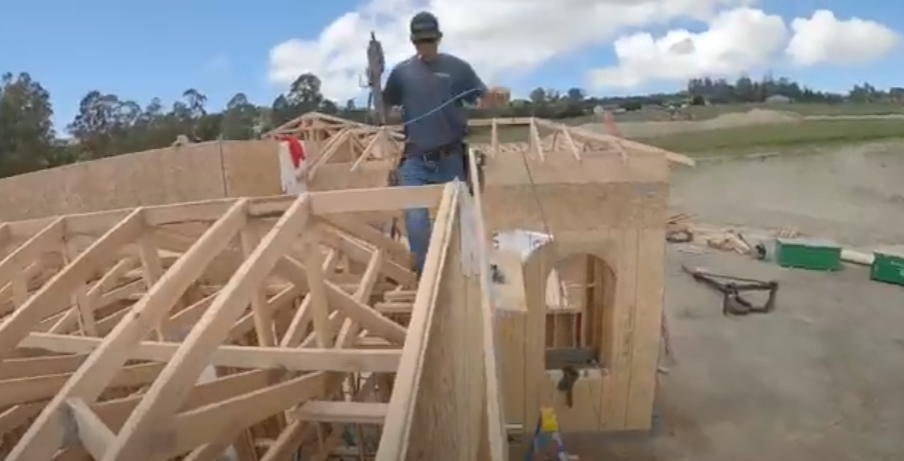
In many custom homes, builders combine stick-framing and engineered trusses to achieve a balance between design flexibility and structural efficiency.
6. Key Roof Details to Consider
When designing your roof system, small details make a big difference. Here are the most critical considerations:
A. Roof Pitch
- Determines water runoff, snow load capacity, and overall style.
- Steeper pitches handle heavy rainfall better, while lower slopes may require special waterproofing.
B. Roof Ventilation
- Proper ventilation prevents moisture buildup and extends the life of your roofing materials.
- Options include:
- Ridge vents
- Soffit vents
- Gable vents
- A balanced ventilation system helps regulate attic temperatures, reducing energy costs.
C. Waterproofing and Underlayment
- Roof underlayment, such as synthetic membranes or ice-and-water shields, provides a secondary layer of protection.
- In regions with harsh winters, ice dam protection is critical.
D. Flashing and Water Management
- Flashing around chimneys, skylights, and valleys keeps water from seeping into your home.
- Poor flashing installation is one of the leading causes of roof leaks — a detail you should never overlook.
E. Energy Efficiency
- Insulating your roof properly saves energy and improves comfort.
- Spray foam, rigid board, or blown-in insulation options vary depending on your roof structure.
7. Integrating Roof Design with Drywall Backing
In a custom home, drywall backing and roof details are not separate considerations — they work together. For example:
- Vaulted ceilings require careful planning for drywall fastening and proper insulation.
- Roof trusses influence where you can install attic access panels, skylights, or ceiling fans.
- Soffit framing impacts how crown molding, recessed lighting, and drywall transitions are finished.
By coordinating your drywall plan with your roof design early in the process, you avoid costly mistakes and ensure a seamless finish.
8. Common Mistakes to Avoid
A. Skipping the Walkthrough
Not verifying drywall backing locations before installation leads to missing supports for cabinets, fixtures, and shelving.
B. Overlooking Roof Ventilation
Without proper airflow, your attic can trap moisture and cause mold, rot, and insulation damage.
C. Poor Flashing Installation
Even a small gap in flashing can cause significant water damage over time.
D. Ignoring Future Needs
Failing to plan ahead for possible home upgrades can lead to expensive retrofits later.
9. Pro Tips for Homeowners
- Document Everything: Take photos of wall framing and roof structure before insulation and drywall — this will save time later.
- Work With Your Builder: Communicate your long-term plans early, especially for wall-mounted fixtures and ceiling details.
- Think Energy Efficiency: Choose roofing materials and insulation systems that improve comfort and reduce utility bills.
- Hire Experienced Professionals: Custom homes require skilled framers, drywallers, and roofers to execute the details correctly.
Conclusion
Building a custom home isn’t just about picking floor plans and finishes — it’s about attention to detail behind the scenes. Proper drywall backing ensures strong, durable walls and easy installation of future fixtures. Thoughtful roof design protects your investment, improves energy efficiency, and enhances the home’s appearance.