Rafters are the backbone of traditional roof construction, providing support, shape, and durability to a structure. Among the many rafter types, the bell rafter is unique because it creates a graceful, curved profile that adds architectural character. Cutting and installing bell rafters is a skill that requires precision, creativity, and careful planning. While straight rafters are common in everyday residential construction, bell rafters are often used in custom builds where design aesthetics matter as much as strength.
In this quick guide, we will explore what bell rafters are, why they are important, the tools you need, and a step-by-step method for cutting them accurately. We’ll also reflect on how the principles of shaping rafters can inspire innovations in unexpected areas—like the automobile industry and modern roofing design, tying in to our theme of #automobile and #roofinginnovation.
What Are Bell Rafters?
Bell rafters are rafters with a curved lower portion that resembles the flared shape of a bell. Instead of running straight from ridge to eave, the bottom edge of the rafter curves outward, giving the roof a softer and more decorative appearance. These are commonly seen in historic architecture, pagodas, temple-style roofs, and high-end residential buildings aiming for a distinctive style.
The design of a bell rafter serves both functional and aesthetic purposes:
- Aesthetic: Provides elegance and uniqueness, creating a standout roofline.
- Functional: Helps in rainwater runoff by guiding water farther away from the walls and foundation.
Tools and Materials Needed
To cut and prepare bell rafters, you’ll need:
- Measuring Tape – For precise lengths and spacing.
- Framing Square – Essential for marking plumb and level cuts.
- Chalk Line – Helps snap long, straight reference lines.
- Circular Saw or Handsaw – For cutting the rafters.
- Jigsaw or Bandsaw – Useful for cutting smooth curves.
- Pencil and Template Board – For marking curves consistently.
- Lumber – Typically 2×6 or 2×8 boards, depending on roof size.
- Safety Gear – Gloves, goggles, ear protection.
Step 1: Understand the Roof Pitch and Design
Before cutting bell rafters, it’s essential to know the roof pitch and the exact shape of the curve you’re aiming for. Most roofs combine a straight upper rafter section with a curved lower section. Determine:
- The rise and run of the roof.
- The length of the curved portion (typically the last 1–2 feet of the rafter).
- The radius of the curve (gentle flare or steep bell shape).
For consistent results, many builders create a plywood template of the desired curve.
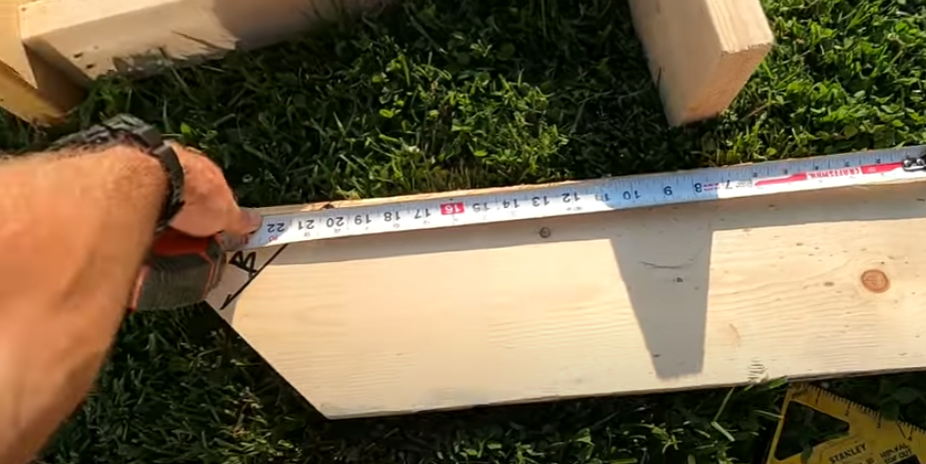
Step 2: Lay Out the Rafter
Take your lumber and mark the standard rafter cuts first—the plumb cut at the ridge and the seat cut where it will sit on the top plate. These cuts are similar to straight rafters and should be measured using the framing square according to your roof pitch.
Next, focus on the bell curve portion. Using a template or a compass, draw the curve on the lower end of the rafter. The curve should flow smoothly into the straight portion of the rafter without sharp transitions.
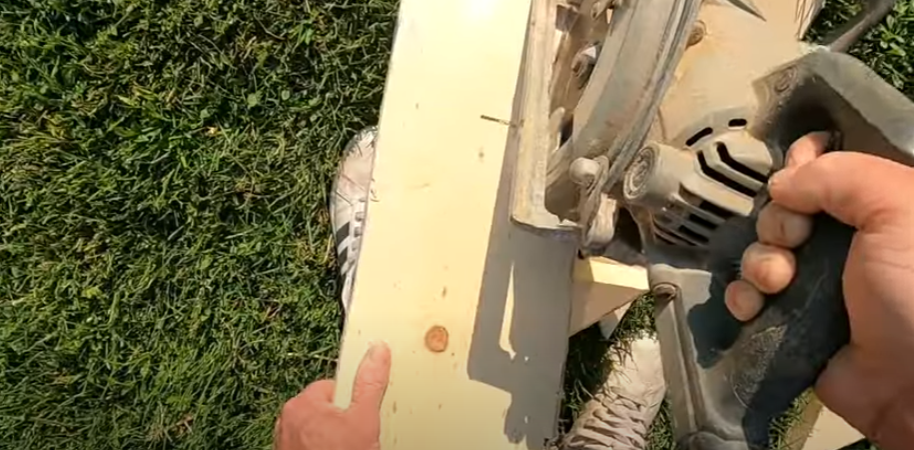
Step 3: Cut the Curve
With the curve drawn, use a jigsaw or bandsaw to carefully cut along the line. If only a circular saw is available, you may need to make multiple shallow cuts and then smooth the curve with a plane or sander.
Always cut slightly outside the line, leaving room for sanding or planing to the exact curve. Smoothness is key—an uneven curve will be noticeable once the rafters are installed.
Step 4: Test the Template
Before cutting all rafters, take the first one (your prototype) and test-fit it in place. This ensures:
- The curve looks aesthetically pleasing from the ground.
- The seat cut rests properly on the wall plate.
- The flare does not interfere with gutters or eaves.
If adjustments are needed, modify your template before cutting the rest of the rafters.
Step 5: Duplicate for Consistency
Once you’re satisfied with the first bell rafter, use it as a template for the rest. Lay it over each new board, trace the outline, and cut. Consistency is critical because the human eye can easily detect differences in curves when rafters are lined up.
Step 6: Install the Rafters
When installing bell rafters:
- Start at the ridge and secure the top plumb cut.
- Align the seat cut on the top plate.
- Ensure curves align with one another across the roof.
- Add blocking or bracing as needed for structural support.
Once secured, the bell rafters will create a smooth, curved roofline.
Roofing Innovation Parallel: Automobiles and Curved Design
At first glance, cutting rafters might seem far removed from automobiles, but the principles of curvature, aerodynamics, and efficiency tie them together. In roofing, the bell curve design sheds water efficiently and adds beauty. In automobiles, curved bodies reduce wind resistance, improve fuel efficiency, and create appealing aesthetics.
Just as engineers in the automotive industry embraced innovation in the ’90s and beyond—developing streamlined body shapes and lightweight frames—roofers and carpenters experimented with rafter curves to blend form and function. Both fields rely on precision, templates, and consistency to achieve results.
Thus, #automobile and #roofinginnovation are connected by shared lessons:
- Curves add both beauty and performance.
- Templates and patterns ensure consistency.
- Precision cutting saves time and prevents costly mistakes.
Challenges in Cutting Bell Rafters
Cutting bell rafters is rewarding but not without challenges:
- Complexity – More difficult than straight rafters.
- Time-Consuming – Each cut must be precise, and curves take longer.
- Material Waste – Mistakes often mean starting over.
- Skill Requirement – Not all carpenters are experienced in cutting curves.
Despite these challenges, the end result is worth it for projects aiming at distinctive design and durability.
Practical Tips for Success
- Always build a prototype first to avoid repeating errors across multiple rafters.
- Use high-quality lumber—knots or warps can ruin the curve’s smoothness.
- Sand and finish curves to prevent splintering.
- Consider laminated curves by bending thinner strips of wood together instead of cutting from a solid piece (an advanced but elegant approach).
- Plan ahead for roofing material—shingles or tiles must conform smoothly to the curved surface.
Conclusion
Cutting bell rafters combines technical skill with artistic design. By following a systematic process—measuring, templating, cutting, and testing—you can achieve a curved roofline that is both functional and beautiful. These rafters not only improve water runoff but also give buildings a distinctive architectural edge.
The process parallels innovations in the automobile industry, where curved designs enhanced performance and style. Both disciplines remind us that precision, planning, and creativity are essential to true craftsmanship.