When it comes to building a roof structure, few tasks are as critical as lifting and positioning the trusses. Roof trusses serve as the skeletal framework that supports the entire roof system, distributing weight evenly to the load-bearing walls and ensuring the structure’s integrity for decades to come. While trusses are engineered for strength and precision, their installation requires meticulous planning, careful handling, and adherence to safety protocols. Properly lifting and positioning trusses is not just about efficiency—it’s about ensuring that the roof system performs its intended function without compromising safety for workers or future occupants.
Understanding the Role of Trusses in Construction
Before discussing the lifting process, it’s important to recognize why trusses are so vital. Unlike traditional rafters, which are cut and installed on-site, trusses are pre-engineered components made from dimensional lumber and metal connector plates. Each truss is designed to fit perfectly into a predetermined spot, with exact angles and load calculations determined by an engineer. This means that improper handling or misalignment during installation can undermine the entire structure.
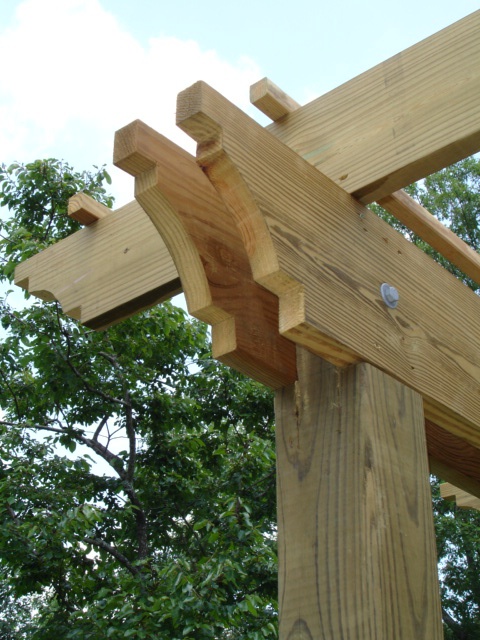
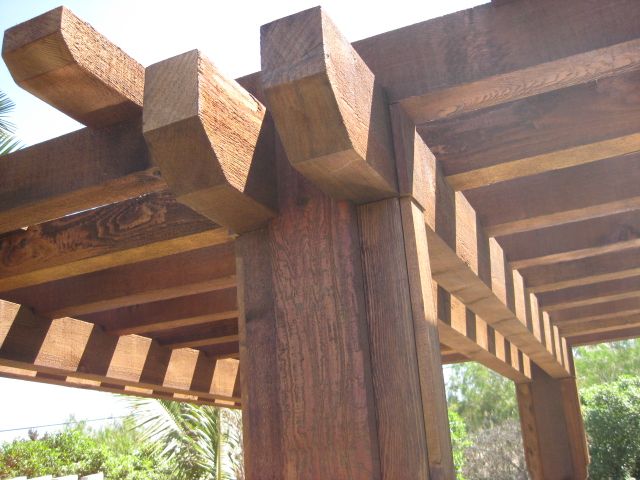
Trusses can span long distances without the need for interior load-bearing walls, making them a popular choice for residential, commercial, and agricultural buildings. But their size, weight, and shape—often triangular and awkward to maneuver—make lifting and positioning a task that requires planning and teamwork.
Preparation Before Lifting the Trusses
A successful truss installation starts long before any lifting begins. The first step is site preparation. The foundation and walls must be complete, square, and level, as trusses rely on precise measurements to align correctly. Any discrepancy in wall placement can lead to significant issues when setting the trusses.
Storage and inspection are also critical steps. Trusses should be delivered and stored flat on level ground, preferably supported by blocking to prevent warping. Exposure to moisture can cause lumber to swell, and improper storage can lead to bowing or twisting—both of which complicate installation. Each truss should be inspected for damage to ensure that no connector plates are loose and no lumber is cracked or split.
Safety planning is another essential consideration. A job hazard analysis should be conducted to identify potential risks such as overhead power lines, unstable ground for lifting equipment, and fall hazards for workers. All crew members should be briefed on safety measures, including the use of fall protection systems, proper lifting techniques, and clear communication signals for guiding the trusses into place.
Methods for Lifting Trusses
There are several ways to lift trusses, and the method chosen depends on the project scale, the truss size, and available equipment.
- Manual Lifting – On smaller residential projects with lightweight trusses, a team of workers may lift trusses by hand. This typically involves sliding the truss onto the top plates of the walls and walking it into position. While cost-effective, this method can be physically demanding and is only practical for smaller spans.
- Using a Boom Truck or Crane – Larger trusses, or those on multi-story buildings, require mechanical lifting. A boom truck or crane allows for safe and efficient lifting, reducing strain on workers and minimizing the risk of damage to the trusses. The trusses are attached to the crane using nylon slings or spreader bars to prevent bending or crushing during the lift.
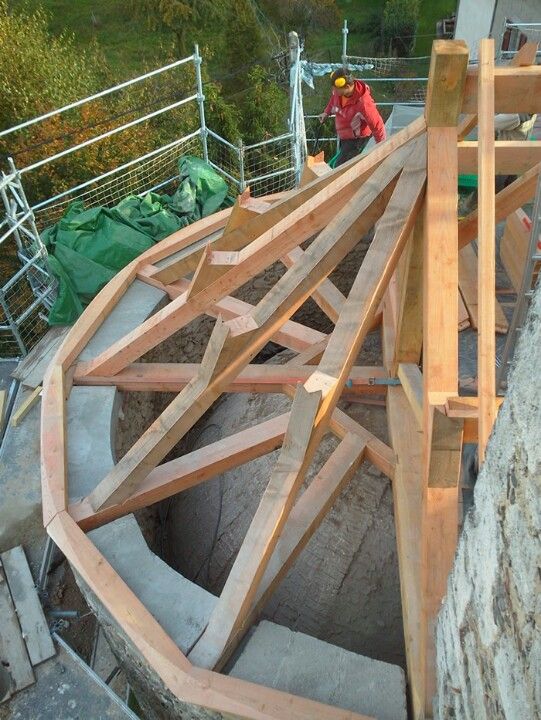
- Truss Lifts in Sections – For very large structures, such as warehouses or barns, trusses may be lifted in pairs or even pre-assembled sections. This reduces the number of lifts and speeds up installation but requires precision and coordination during placement.
Regardless of the method, balanced lifting is crucial. Lifting from one end can cause the truss to flex or snap, so attachment points must be evenly spaced, and the truss must remain upright during the lift.
Positioning the Trusses
Once a truss is lifted, the next step is carefully positioning it on the structure. Typically, the end trusses are set first. These are the gable trusses, which help establish the alignment and spacing for all the trusses that follow. Once the end trusses are in place and braced, a string line is stretched between them to serve as a guide for setting the remaining trusses in a perfectly straight line.
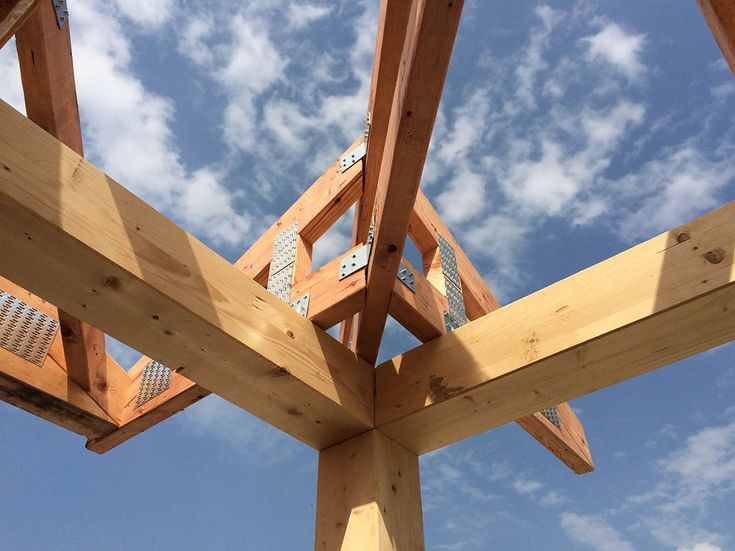
Trusses must be aligned with the layout marks on the top plates. These marks are spaced according to the truss design—commonly 24 inches on center for residential construction. Workers carefully rotate and nudge each truss into position, ensuring that it sits squarely on the walls and lines up with the string line.
During this stage, temporary bracing is critical. A single truss cannot stand unsupported—it will simply topple over. As each truss is placed, temporary diagonal bracing is nailed to hold it upright. This bracing ties multiple trusses together, stabilizing the entire system until permanent bracing and sheathing are installed.
Safety Considerations During Installation
Lifting and positioning trusses is inherently hazardous. Workers often operate at heights, handle heavy materials, and work around lifting equipment. To mitigate risks:
- Fall protection is mandatory when working above certain heights, often using safety harnesses and lifelines.
- Clear communication between ground crews and crane operators ensures safe, controlled lifting. Hand signals or radios are commonly used.
- Weather conditions must be monitored. High winds can make lifting trusses dangerous, as even a light gust can catch the large surface area of a truss and turn it into a hazard.
- Proper personal protective equipment (PPE)—including hard hats, gloves, and safety boots—must be worn at all times.
Accidents most often occur when trusses are inadequately braced or when workers attempt to balance or hold trusses that are tipping. Strict adherence to installation guidelines and OSHA safety recommendations is essential.
Securing the Trusses Permanently
After all trusses are set and temporarily braced, the installation transitions to permanent securing. Permanent bracing systems are installed according to the truss manufacturer’s specifications and local building codes. These may include top chord bracing, bottom chord bracing, and web bracing to ensure the entire system works as a unified structure.
Once the trusses are fully secured, roof sheathing (plywood or OSB panels) is installed. This sheathing locks the trusses together, dramatically increasing rigidity and preventing racking or shifting over time.
Common Challenges and How to Overcome Them
Even with planning, challenges arise during truss installation.
- Misaligned walls can cause spacing issues, forcing installers to make adjustments on the fly. Ensuring walls are plumb and square before lifting trusses is the best prevention.
- Handling heavy or long-span trusses can be tricky. Using spreader bars and proper rigging prevents damage and keeps the lift stable.
- Working in windy conditions is dangerous. If wind speeds exceed safe limits (often 15–20 mph for truss work), lifting should be postponed.
The Importance of Professional Expertise
Installing trusses is not a task for the inexperienced. From rigging and lifting to bracing and safety compliance, every step requires skill and knowledge. Professional crews understand how to read truss layout plans, adjust for site conditions, and maintain structural integrity throughout the process. Their expertise ensures the trusses are installed correctly the first time, avoiding costly repairs or structural failures later.
Conclusion
Lifting and positioning the trusses is one of the most crucial steps in framing a building. It requires careful planning, precise execution, and a strong emphasis on safety. From the moment trusses arrive on-site to the final placement and bracing, every action affects the roof’s performance and the building’s overall integrity. Whether the trusses are hoisted by hand on a small home or lifted by crane for a large commercial project, the same principles apply: plan thoroughly, handle carefully, position accurately, and secure firmly. By following these guidelines, builders can ensure that the roof truss system will provide strength, stability, and protection for years to come.